This is a neat project that lets you deliver power to devices using Raspery Pi-controlled RF outlets. I've used these outlets to control the Xmas tree, playroom lights, a gerry-rigged sous-vide, etc...
Tim Leland has a detailed blog post with instructions to set up a website on the Raspberry Pi to control Etekcity outlets. We'll be controlling the outlets via a Node.js app, so this post will show you the most direct way to get setup with the bare minimum.
Hardware
- Raspberry Pi - I have run this on a Raspberry Pi 3 and Zero W
- Etekcity outlets
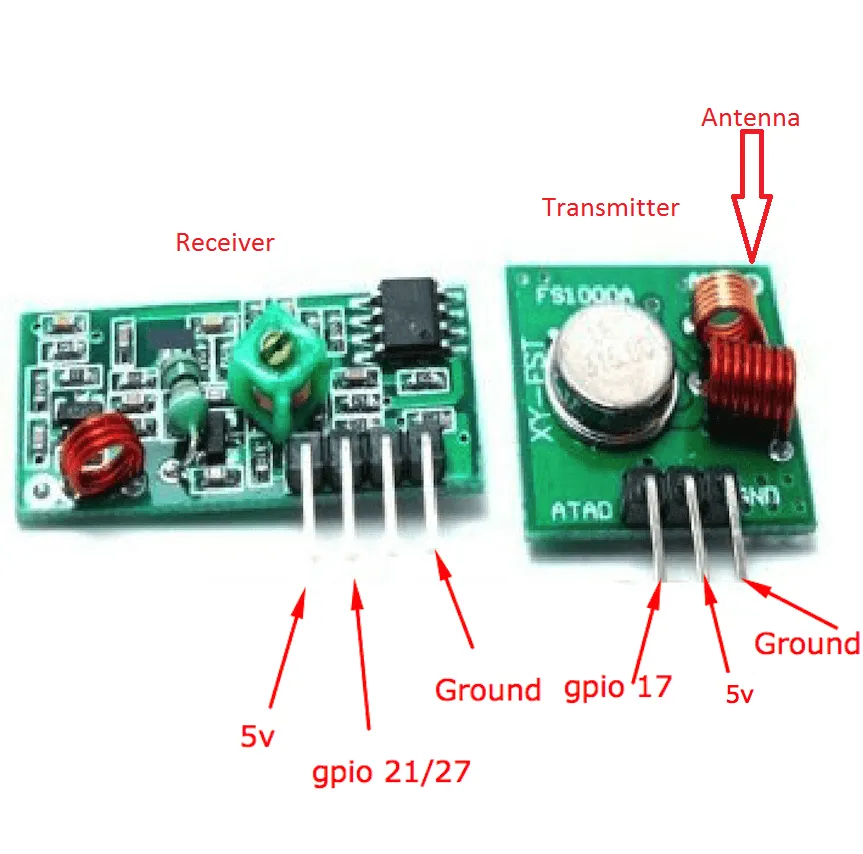
- RF receiver and transmitter
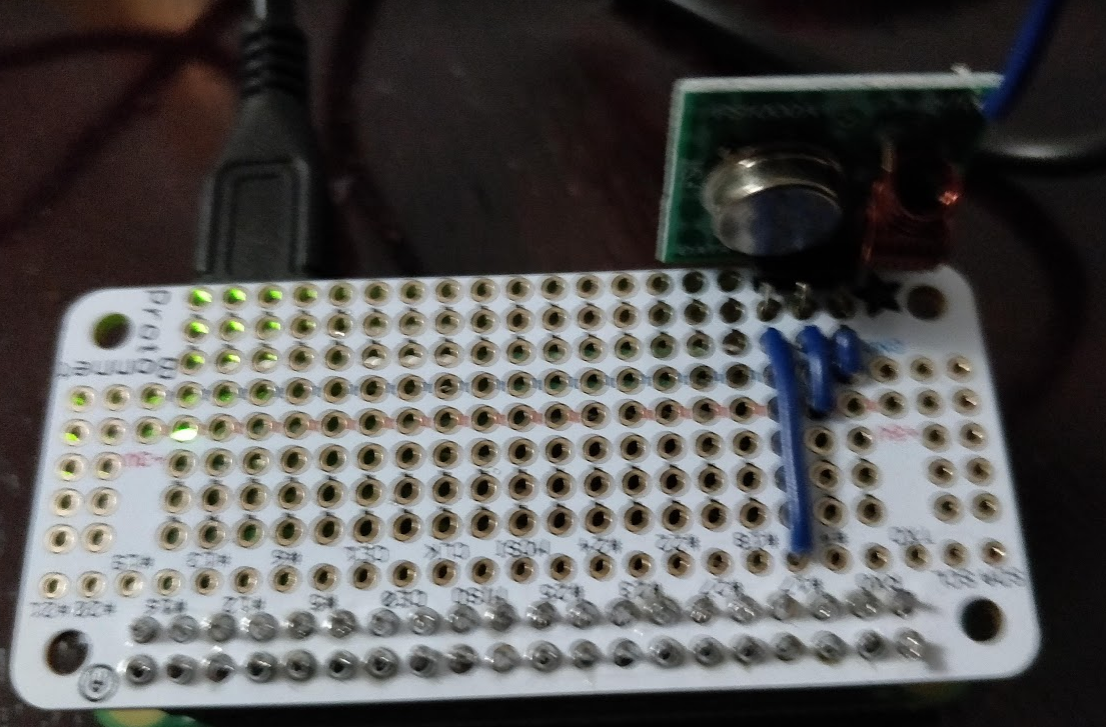
You will need a breadboard or protoype board and wire up the receiver and transmitter to the appropriate pins:
Raspberry Pi pre-requisites
- Install Raspbian
- Run
sudo apt-get update - Run
sudo apt-get upgrade - Install Wiring Pi by running
sudo apt-get install wiringpi
Note about Wiring Pi - the developer behind it is apparently going to cease development on it due to how he has been treated by the community. This is really unfortunate... He has released a final version for Raspberry Pi 4, but there won't be any versions past that. Eventually we'll need to find an alternative...
Leland's rfoutlet repo
Tim Leland's repository has two files we are interested in:
- RFSniffer - identifies RF codes
- codesend - transmits RF codes
We'll pull down his repo: git clone https://github.com/timleland/rfoutlet.git
I've created a outlet-test folder for my project, and I'm going to copy those two files over:
cp ./rfoutlet/RFSniffer ./outlet-test/RFSniffer
cp ./rfoutlet/codesend ./outlet-test/codesend
Reading RF outlet codes
As Leland details in his blog post, getting the RF codes for your outlets starts by executing ./outlet-test/RFSniffer which will will make your Pi start listening for codes to be transmitted. Then it is just a matter of hitting the On and Off buttons on the remote for each outlet and recording them. I typically write the On and Off codes directly on the outlets with a sharpie.
Transmitting RF outlet codes
codesend requires elevated privileges:
sudo chown root.root ./outlet-test/codesend
sudo chmod 4755 ./outlet-test/codesend
If everything worked, you should be able to transmit the RF codes you recorded earlier and start turning your outlets on and off:
./outlet-test/codesend 5239689
I thought there was going to be a Node.js app?
In order to transmit the RF codes via Node.js, we're going to spawn a shell and invoke the codesend executable that way:
import { exec } from 'child_process';
import { config } from './config'

exec(`./codesend ${config.onSignal}`);

setTimeout(() => exec(`./codesend ${config.offSignal}`), 10000);
The above code will turn the outlet on, and then turns it off 10 seconds after. It's a little dirty, but I'm now able to integrate with SignalR, react to IoT cloud-to-device messages, control power based on a sensor reading, etc...
Conclusion
This is a fun little project, and I have a number of little Pi Zero W's floating around the house controlling various lights and devices. With a little soldering know how and Adafruit's awesome Prototype Board for the Pi Zero, it's pretty straightforward to solder on the RF transmitter and create a permanent solution for power control.